Why You Should Stonegrind Your Skis
01.18.2017 | Ski Racing Staff

Don’t try to dodge it. Your skis are going to need another stonegrind this season after all of those NASTAR races you’ve been skiing. Especially since your local Regional Championships are right around the corner! This undertaking might seem like you’re erasing all the hard tuning work you’ve put into your skis, but done right, a stonegrind can help get your skis back into prime condition and get you back on the race hill in record time.
The first step in the process is an inspection. Do the skis have rock damage? Is sidewall in the way? Have your tips or tails been chewed up by traveling in your car? Depending on the size of base damage, a technician can fill gouges with P-Tex (for smaller dings and core shots) or use a base patch for larger damage. Which is chosen is completely dependent on the size of the damage and both have good durability in the long run. Lastly, the sidewalls should be checked and touched up.
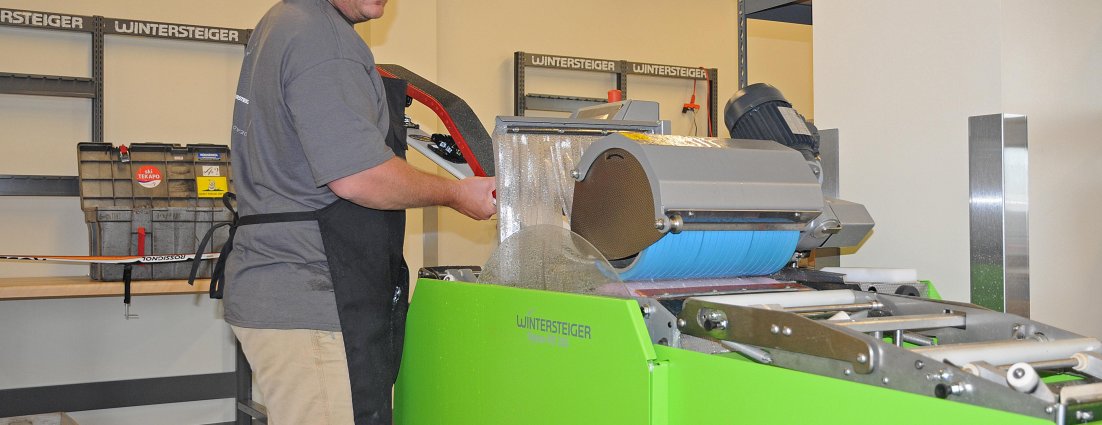
Once you’ve done the initial repairs and clean up, it’s time for the stone, which should have an aggressive structure to remove both base and edge material. The technician will pass the ski over the stone until the bases and edges are consistent tip to tail. How far? It’s generally better to leave as much material as possible on the ski, which can mean that a few shallow, superficial scratches remain. A good machine operator will always grind enough to ensure that best quality base material and fastest running surface are available. This process can take anywhere from six to 40 passes, depending on how damaged or skewed the base is.
Also depending on the machine and operator, the blanking process can include one or two separate steps. A technician may add an intermediate step by following the flattening with a less aggressive broken linear pattern. Then the stone will be redressed with an extremely tight and fine linear pattern, which brings the skis from the rough structure imparted during the flattening process to a base with a super-fine structure that resembles no structure at all.
Next up comes edge beveling. Whether by hand or by machine, the side edge and base bevels should be imparted before the finish grind. This ensures that the edges are out of the way of the stone, and that there’s no damage to the finished grind when conveying the angles.
The last step is determining where the stone is dressed for the desired structure (based on the event and/or anticipated snow conditions) and then passing the ski through the grinder one final time. In some rare cases, an operator will impart a compound (layered) structure, but more typically it’s a split structure (a different structure on different parts of the ski). Either way, these grinds are complex and difficult to produce, but can make a big difference in the speed and handling of the ski.
After the finish grind, you’ll need to get to work. Many shops will be able to polish the structure, wax your skis and even offer a heat sleeve, hotbox or Montana Wax Future treatment. Using these tools allows for use of harder waxes right out of the gate, and remembering the importance of durability, you always want to err on the side of hard wax.
So, when it comes time to get your skis ground, worry not. The process often breathes new life into skis you thought were destined to be rock skis, and a good shop can hand you back skis that are ready to hit snow and keep you in the course.